One of the most important points for the sale or rental of your home is its presentation and by this we mean the first contact that potential clients will have with your home: the photographs.
It is no longer necessary to have the latest model of professional camera to take a good image of your home. It's much easier than that, with our Smartphone and a bit of tidying up, we can achieve wonderful results.
In this Unicasa&Home blog we are going to give you some basic tips on how to photograph your home and get the most out of it.
First we are going to give you 4 TIPS necessary for the moments before taking the photos:
¡Don't be in a hurry! Don't just take the first photo you take, there is always room for improvement.
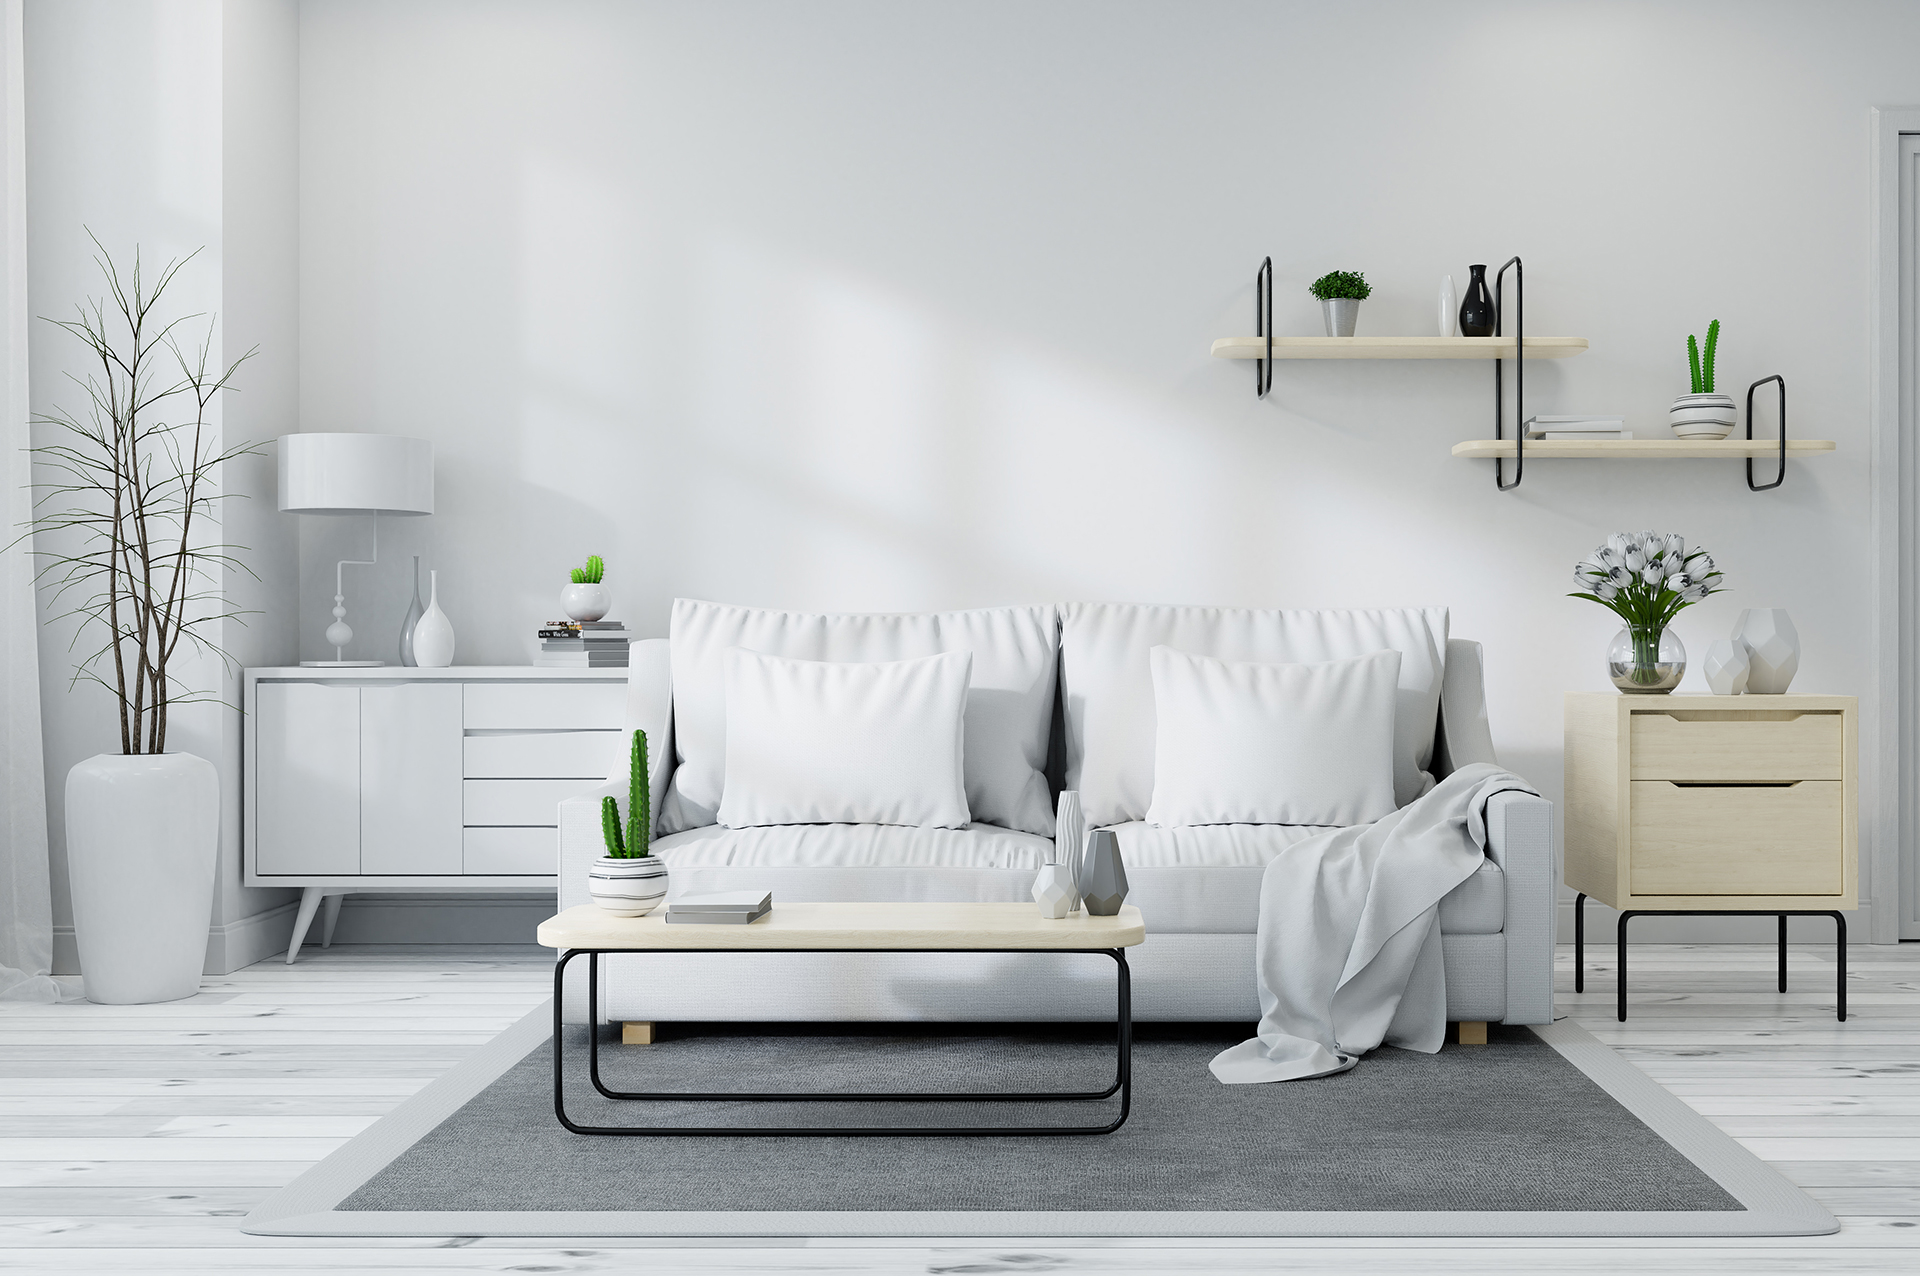
Prepare your spaces. Think about the pros and cons of your home and make the most of it. It goes without saying that the tidier the house, the easier the whole process will be. Try to depersonalize your spaces a little, remove the typical family portraits, no photos of baptisms, communions, weddings… Remember that you want to sell your house and we are trying to make our buyer imagine living in it. Put some detail as simple as a plant, decorative candles… or for example: a bowl of fruit in your kitchen. Every little detail counts.
Every little detail counts.
Now let's talk about lighting. The best photographs are taken within two or three hours of sunrise or sunset (this always depends on the orientation of your home).This does not mean that the more light the better, in fact, it is advisable to avoid direct sunlight, closing the curtains (if they are not too thick) and thus achieving that the light in your room is softened and eliminating possible backlighting in our photographs. Although natural light will be important, it is best to turn on all the lights in the house. This will improve the general illumination of the house and avoid the darkest areas. If the house has spectacular views, don't forget to take a nice complementary photo of them!
If the house has spectacular views, don't forget to take a nice complementary photo of them!
Never activate the flash on your smartphone and of course don't get anyone (no one including your beloved pet) in the picture. Avoid photos of mirrors and if there is a lot of light coming through the window, take the photo with your back to it.
Once we are clear on these points ¡Let's get down to action!
When we have these points clear ¡Let's get down to business!
Pictures are always best taken horizontally and from a corner, as it increases the panoramic view of your space. It is essential that the photo does not look crooked.
On our mobile devices it is very easy to straighten the images, in fact the mobile editor itself does it almost automatically, so there are no more excuses!
It is very easy to straighten the images, in fact the mobile editor itself does it almost automatically, so there are no more excuses!
Pictures taken from above are a mistake. The best photos are taken from slightly below eye level. Take photos from several corners so you don't miss any details of your room.
It's advisable to use the grid app on your phone, and whenever you can, a trípode. This will make it much easier to frame the photo straight.
Don't fall short of taking photos, the more the better, so you'll have more options to choose from later.
Retouch your photos with some of the easiest and most fashionable apps like VSCOcam or Spapseed. Go easy on the effects, it has to look as natural as possible!
And finally, always choose the best spaces in your home. The photos of the car park and the storage room should always be the last ones.